


Acrylic Nails remain one of the most powerful and versatile nail enhancement systems used by nail technicians, salon owners, and advanced home users.
Whether you’re aiming to create durable extensions, sculpt perfect shapes, or deliver long-lasting results, mastering acrylic systems is essential for professional success.
Moreover, with the right technique, product selection, and maintenance routine, acrylic nails can provide exceptional strength, structure, and design flexibility. This guide breaks down everything—from fundamentals to advanced troubleshooting—so you can refine your technique and deliver consistent, high-quality results.
What Are Acrylic Nails?
Acrylic nails are formed through a chemical reaction between monomer (liquid) and polymer (powder). When combined, they create a moldable bead that hardens upon exposure to air.
As a result, this system allows technicians to:
- Sculpt nail extensions
- Reinforce natural nails
- Build structured shapes with a defined apex
Unlike gel systems, acrylic does not require curing under a lamp, which gives more control over shaping during application.
Acrylic Nails Benefits for Professionals and Clients
For Nail Technicians
- Compatible with multiple nail art techniques
- High durability for long-lasting sets
- Full control over structure and shape
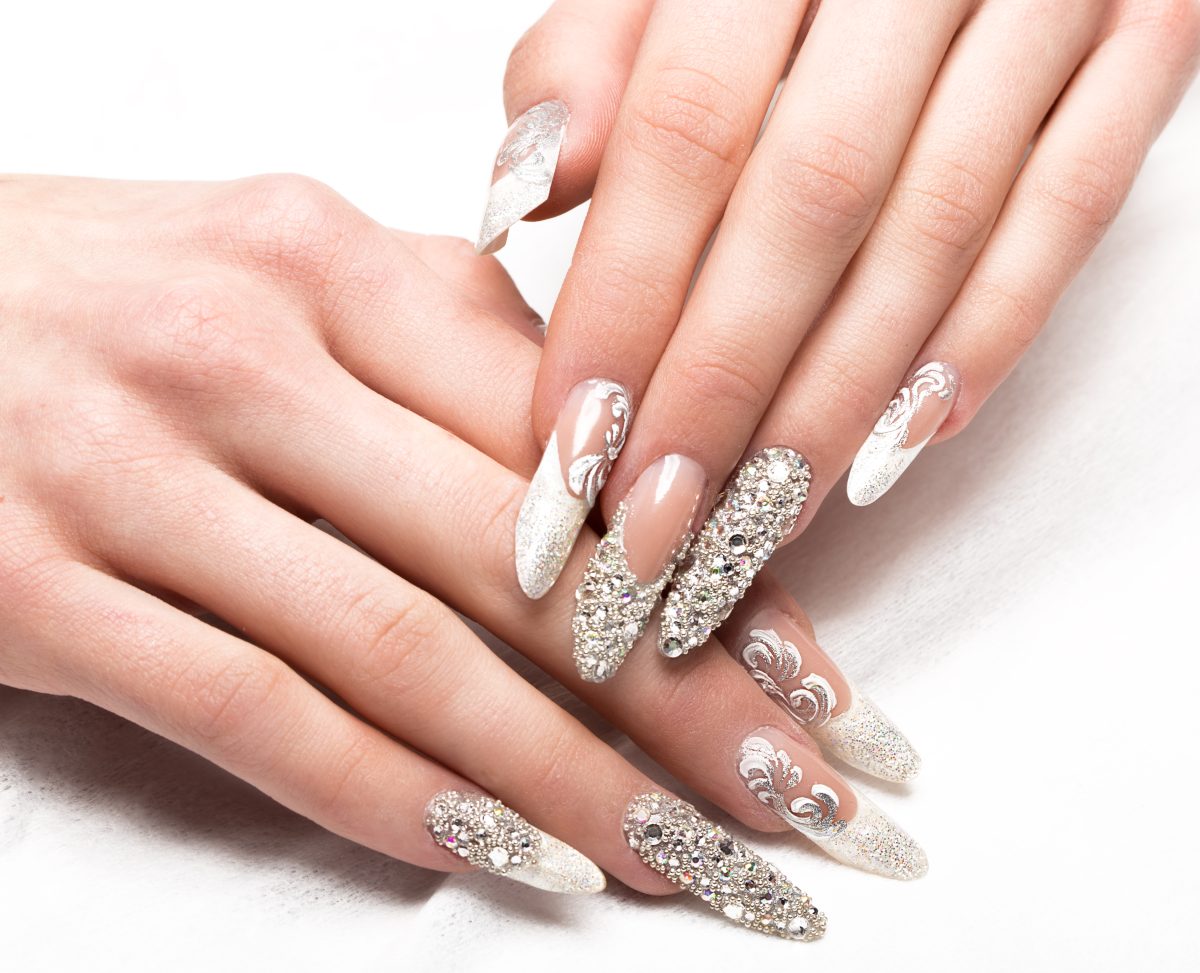
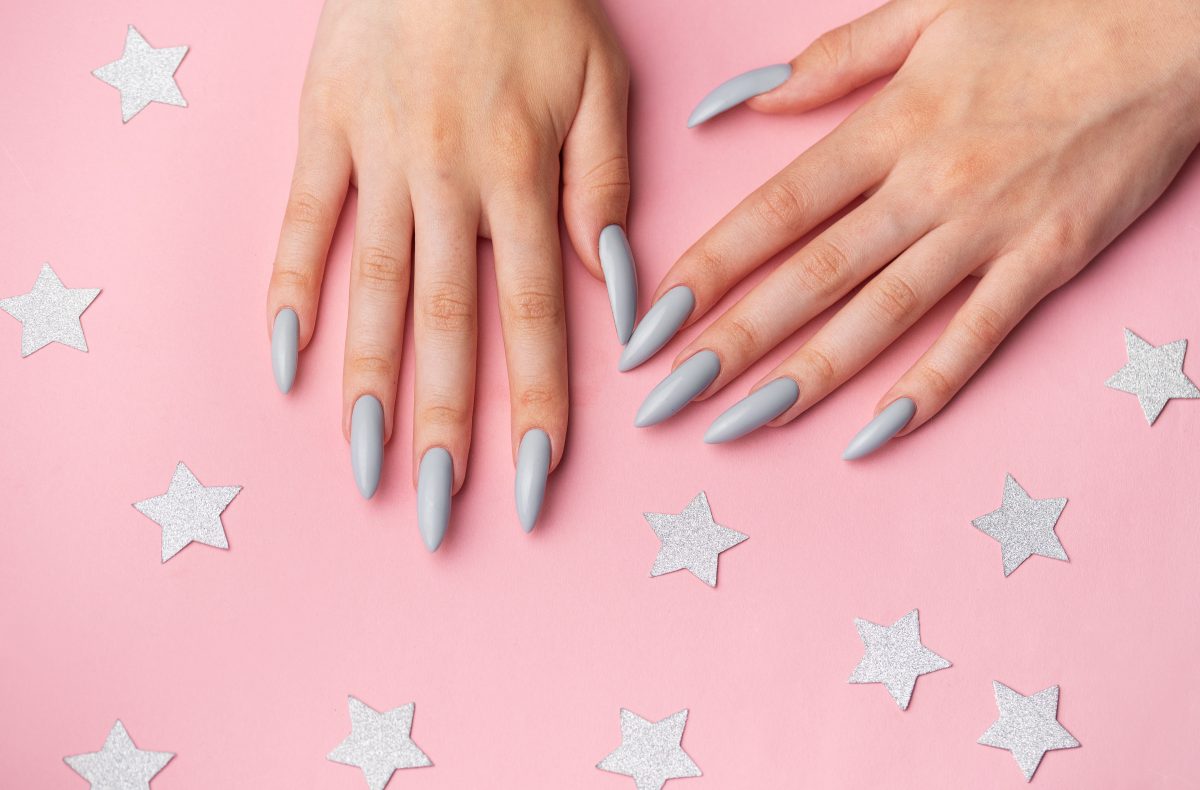
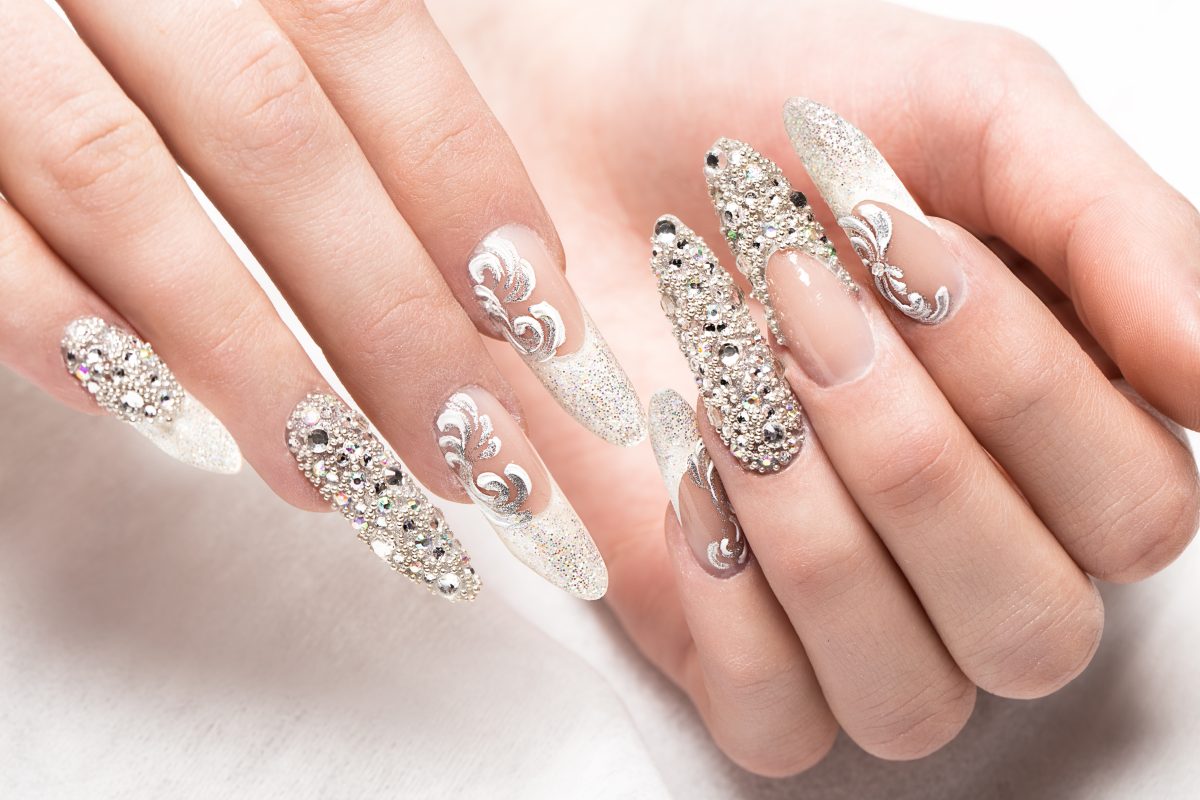
- Ideal for extreme lengths and custom designs
For Clients
- Versatile styling options
- Long wear (2–4+ weeks with proper care)
- Strong protection for weak natural nails
Additionally, acrylic systems are highly customizable, making them suitable for both natural overlays and dramatic extensions.

Types of Acrylic Nail Systems
Understanding system variations helps improve performance and client satisfaction.
1. Traditional Acrylic System
- Best for experienced technicians
- Uses standard monomer and polymer ratio
2. Odorless Acrylic System
- Requires controlled technique
- Slower setting time
- Ideal for sensitive environments
3. Colored Acrylic System
- Eliminates need for gel polish in some designs
- Pre-mixed pigments within powder
4. Cover Pink & Camouflage Acrylics
- Enhances overall nail aesthetics
- Used for French designs and nail bed extension
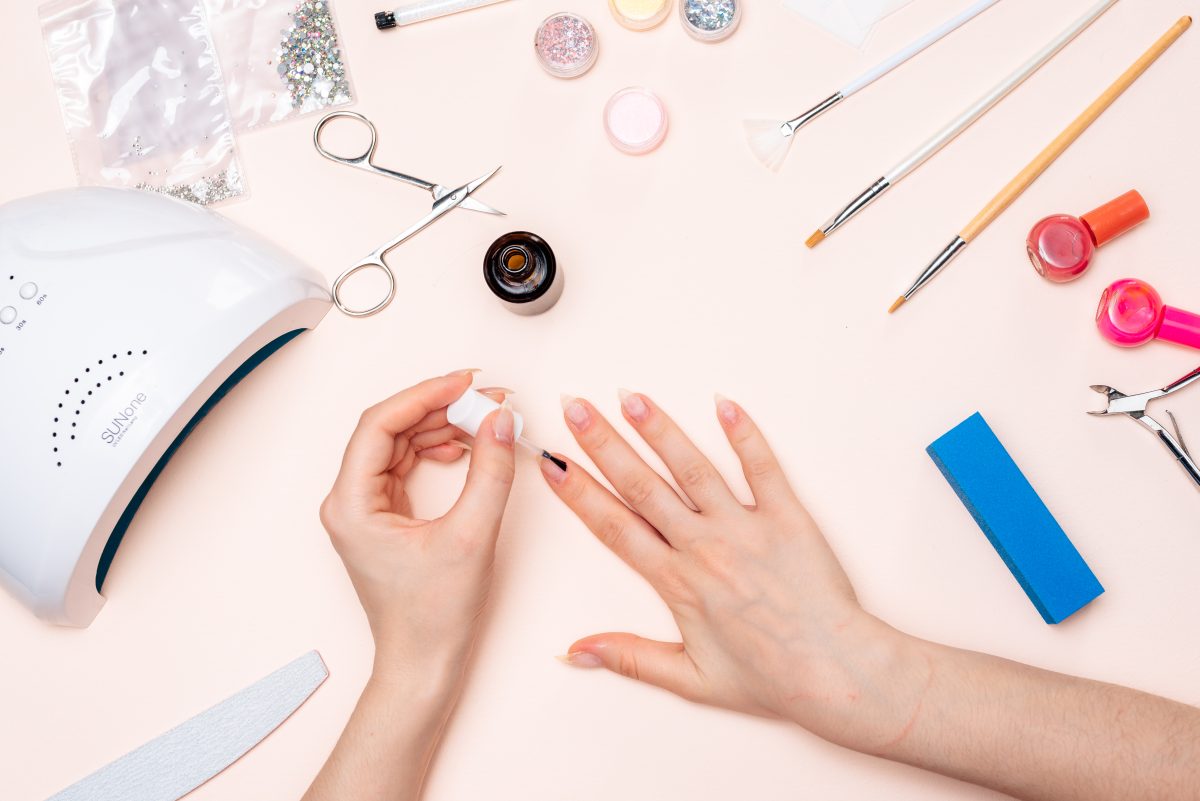
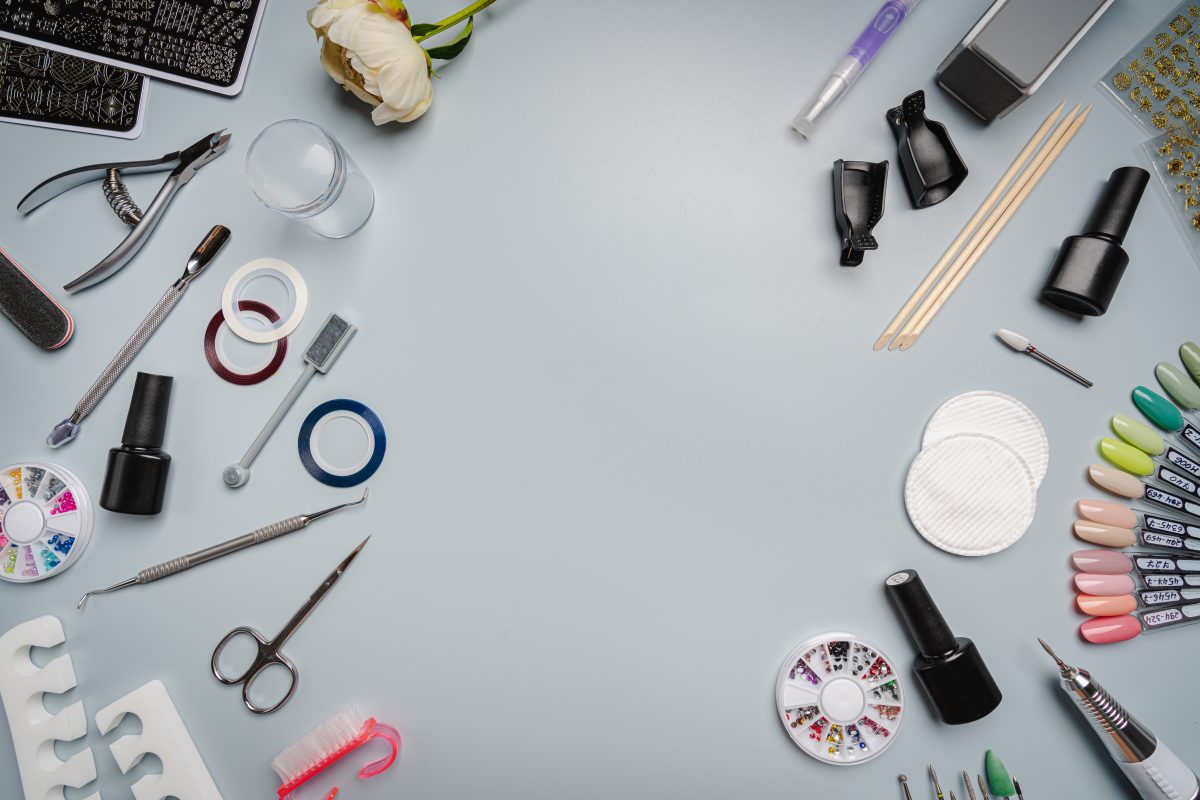
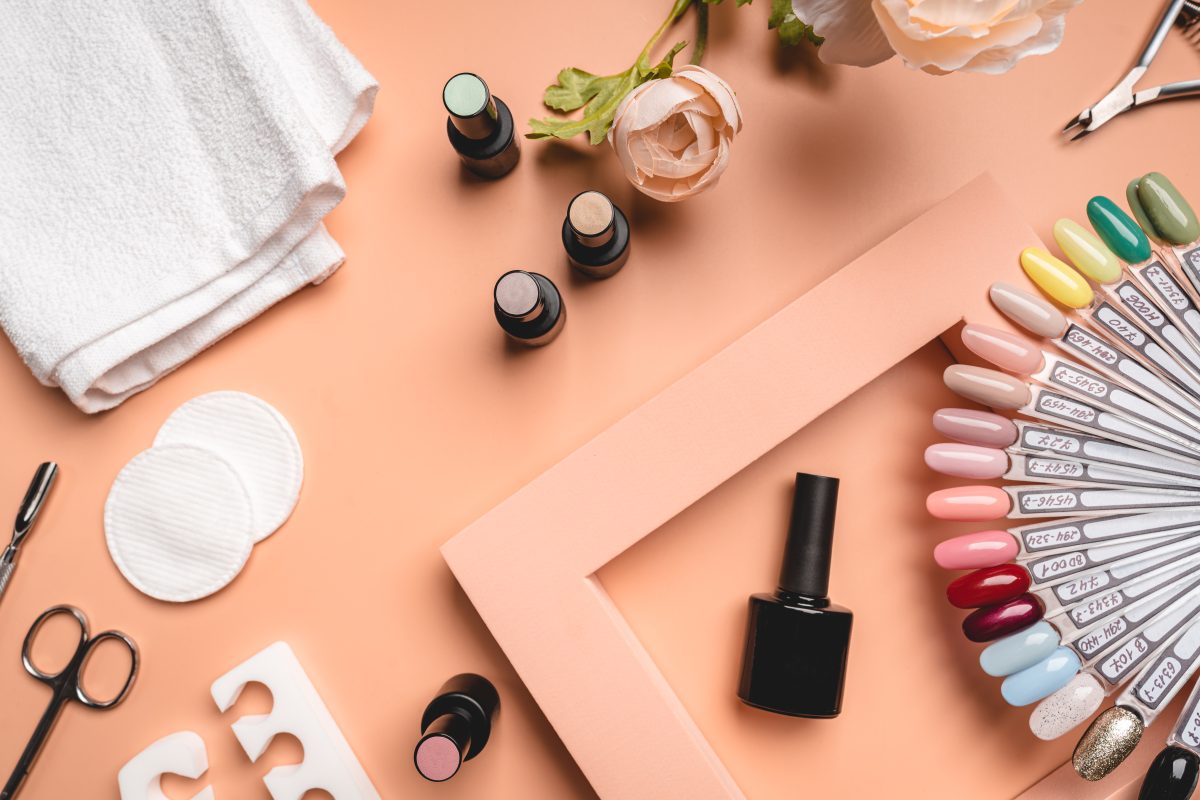
Essential Products Needed for Acrylic Nails
A professional setup requires high-quality tools and products to ensure consistency.
Core Products
- Acrylic brushes (Kolinsky recommended)
- Monomer (liquid)
- Polymer powder
- Nail forms or tips
Prep & Support Products
- Lint-free wipes
- Nail dehydrator
- Acid-free or acid primer
- Cuticle pusher and nippers
Finishing Products
- Top coat or gel polish
- Files (100/180 grit)
- Buffer blocks
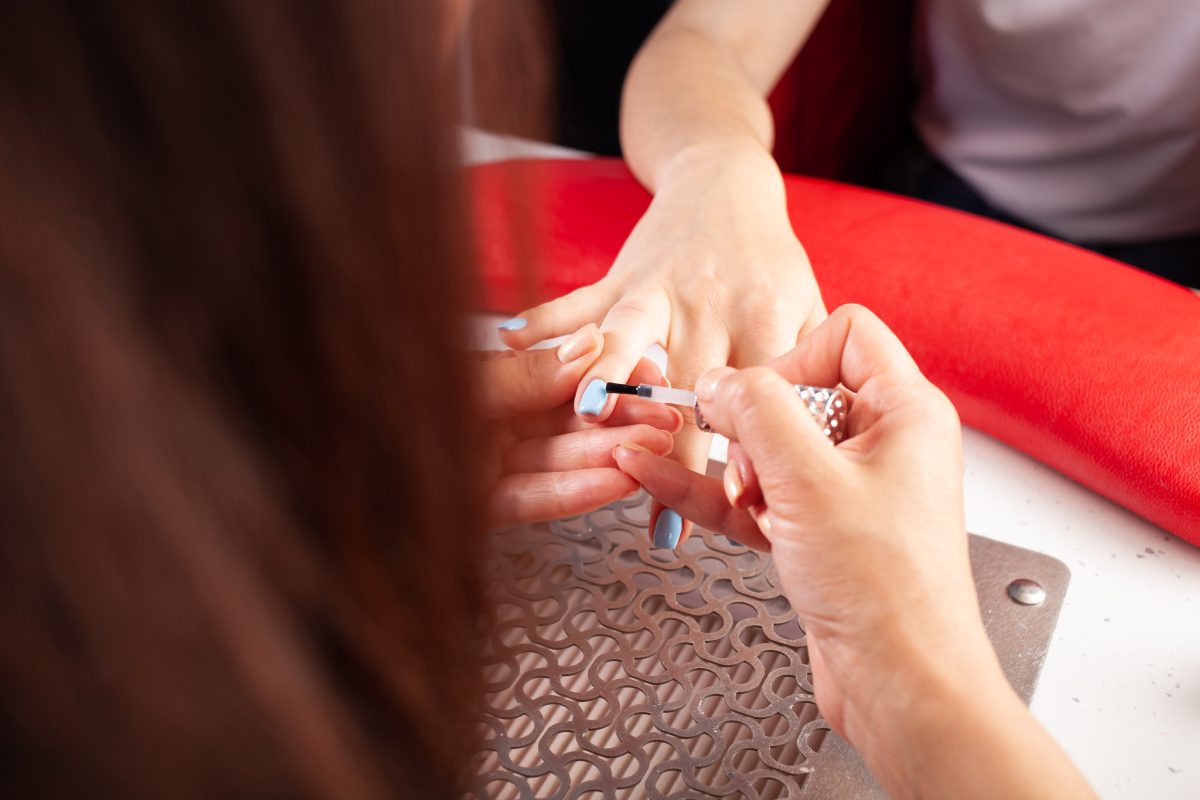
How to Apply Acrylic Nails Professionally
1. Nail Prep (Critical Step)
Proper prep ensures adhesion and prevents lifting:
- Apply dehydrator and primer
- Push back cuticles and remove non-living tissue
- Lightly etch the nail plate
- Remove dust and oils
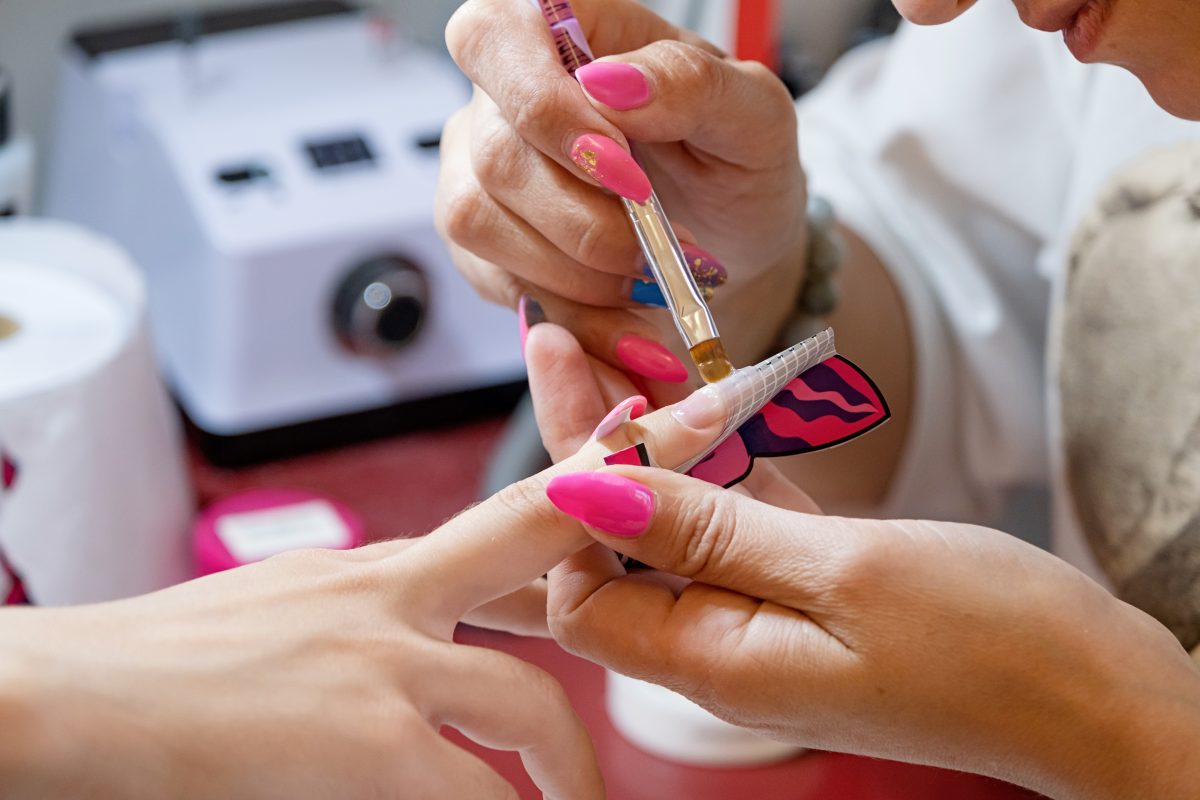
2. Tip Application or Form Placement
- Ensure proper alignment to avoid structural issues
- Choose correct size tips or fit forms securely
3. Acrylic Application
- Work in zones (cuticle, apex, free edge)
- Pick up a controlled bead (monomer + polymer)
- Place near the cuticle without flooding
- Build the apex for strength
4. Shaping and Filing
- Ensure a balanced structure
- Refine sidewalls and free edge
- Maintain consistent thickness
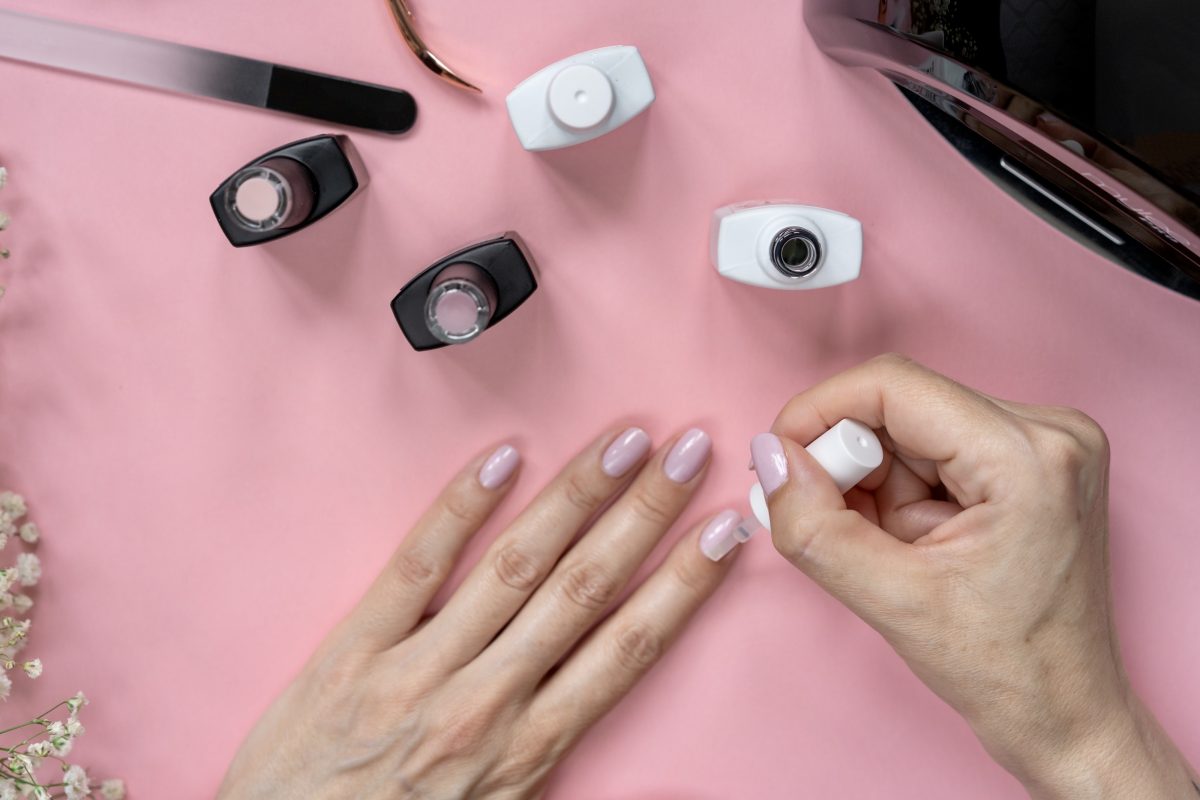
5. Finishing
- Apply top coat or polish
- Buff the surface
Common Mistakes and How to Avoid Them
1. Lifting at the Cuticle Area
Cause: Poor prep or flooding
Solution: Improve cuticle cleaning and bead control
2. Air Bubbles
Solution: Use smooth brush strokes
Cause: Overworking product
3. Bulky Structure
Cause: Incorrect bead ratio
Solution: Practice proper liquid-to-powder balance
4. Cracking
Cause: Weak apex or thin stress area
Solution: Build proper structure
How to Prevent Lifting and Improve Retention
Retention is a key indicator of professional work.
Best Practices
- Perform thorough nail prep
- Avoid touching the nail plate after prep
- Use the correct monomer-to-polymer ratio
- Cap the free edge properly
Additionally, always assess the client’s nail condition and lifestyle, as these factors influence wear time.
Acrylic Nails vs Gel Nails
| Feature | Acrylic Nails | Gel Nails |
|---|---|---|
| Curing | Air-cure | UV/LED lamp |
| Strength | Very strong | Flexible |
| Odor | Strong | Minimal |
| Removal | Soak-off | Soak-off or file |
| Best for | Length & structure | Natural look |
In short, acrylic nails offer superior durability, while gel provides a more natural finish.
Maintenance and Aftercare Tips
Proper aftercare ensures long-lasting results and healthy nails.
Client Aftercare Guidelines
- Apply cuticle oil daily
- Avoid using nails as tools
- Wear gloves during cleaning
- Schedule infills every 2–3 weeks
Salon Advice
Educating clients improves retention and reduces service issues.
Who Should & Should Not Choose Acrylic Nails
Ideal Clients
- Those wanting long extensions
- Clients with strong nail beds
- Individuals seeking long-lasting wear
Not Always Suitable For
- Severely damaged nails
- Clients with allergies to acrylic ingredients
- Those unable to maintain regular infills
Being transparent builds trust and ensures better client satisfaction.
Professional Tips for Better Results
- Always invest in high-quality acrylic nail products
- Control bead size instead of overloading the brush
- Focus on apex placement for durability
- Work with consistent timing and environment conditions
Moreover, practicing structured application significantly improves speed and precision.
FAQs
Acrylic nails typically last 2 to 4 weeks, depending on maintenance, nail growth, and aftercare routine.
Yes, when applied and removed correctly, acrylic nails are safe. However, improper removal or over-filing can damage the natural nail.
Soak the nails in acetone, gently remove softened product, and avoid forceful peeling to protect the nail plate.
Lifting usually occurs due to poor nail prep, excess moisture, or incorrect product application near the cuticle.
Yes, but it requires practice, proper tools, and understanding of nail structure to achieve professional results.