


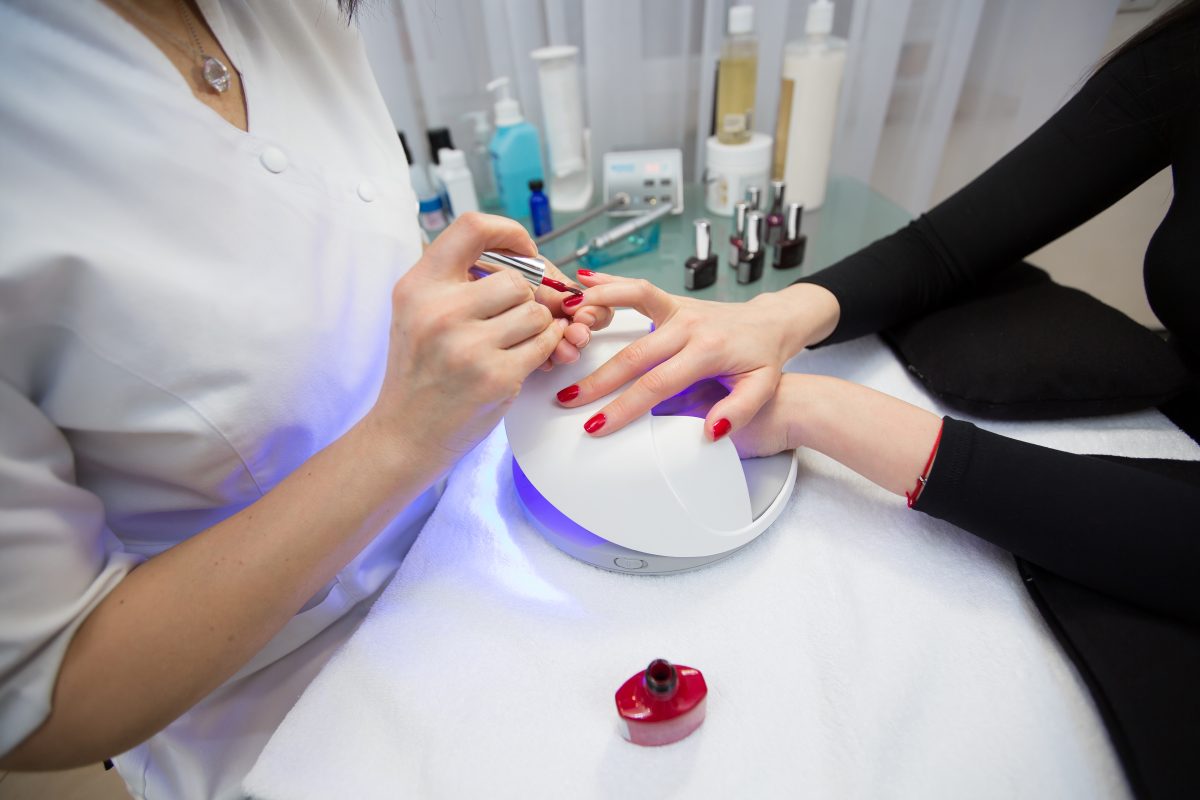
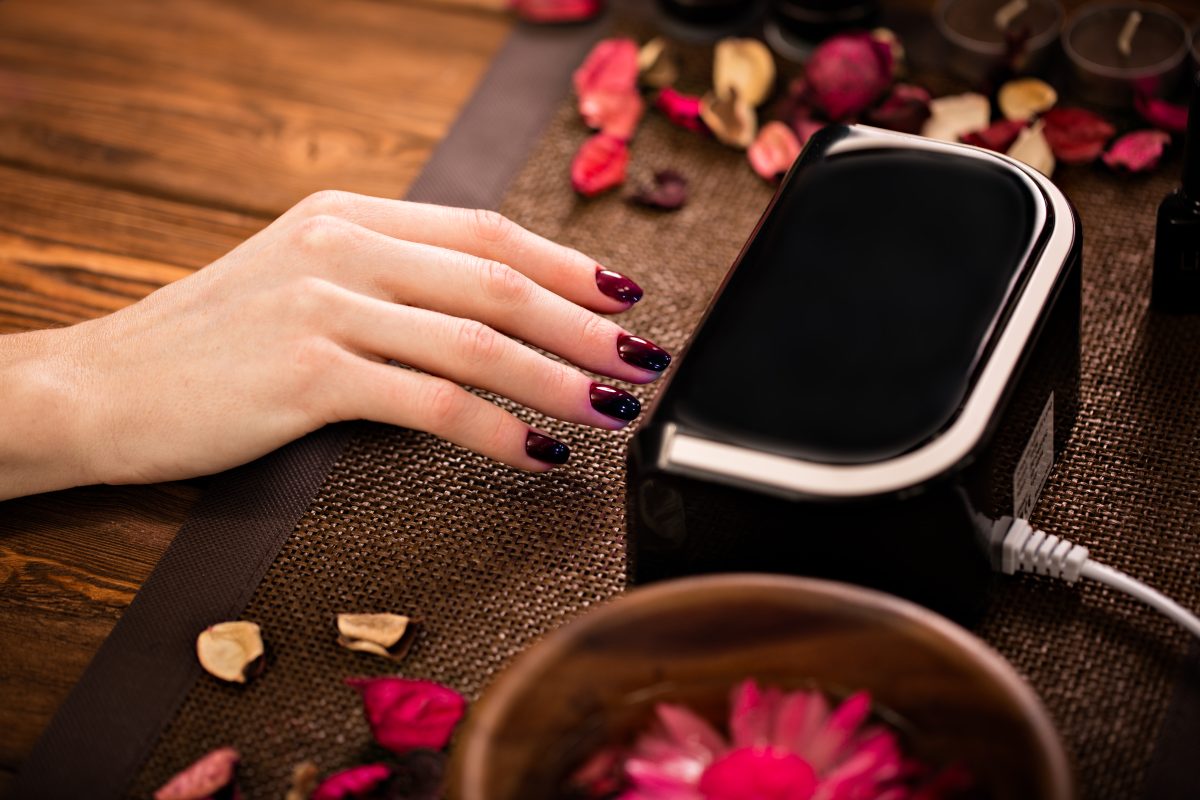
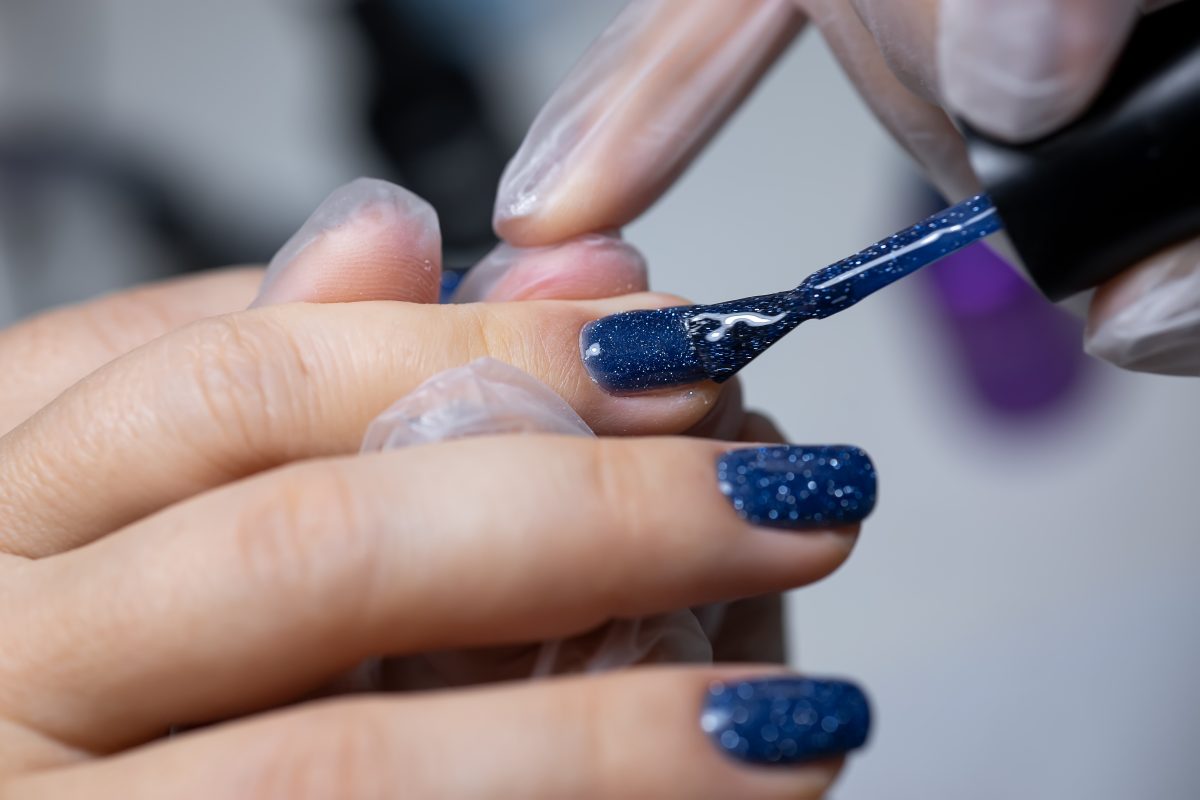
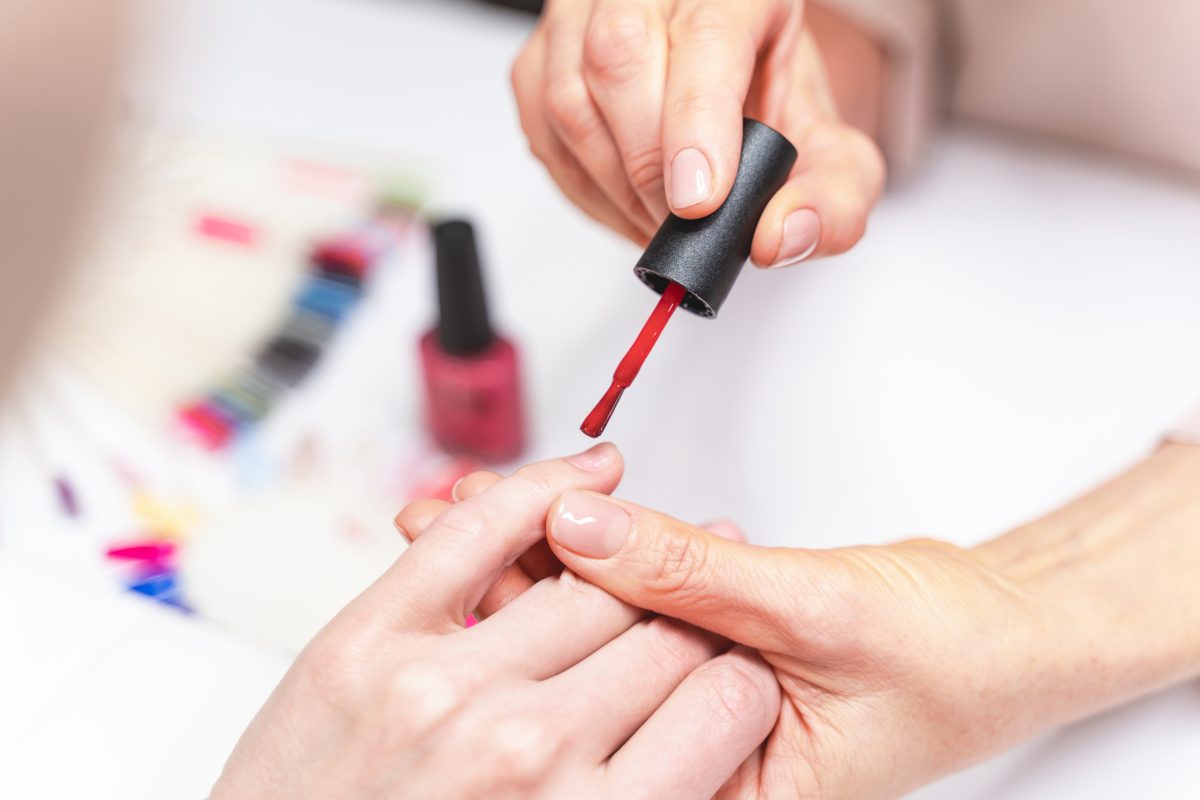
Curing Gel Polish is the silent workhorse of every gel service. Done correctly, manicures look flawless, last longer, and protect nail health. Done poorly, even premium products can lift, peel, or dull, and may cause client sensitivity.
Learning how to cure gel polish correctly prevents premature lifting, extends wear, and reduces service issues. Lamp wattage, photoinitiators, layer thickness, and curing time all work together—sometimes invisibly—so surface-cured polish can still be chemically incomplete, affecting durability and client safety.
What “Curing Gel Polish” Actually Means in Professional Terms
0Curin0.
g Gel Polish is not about “drying” the product. It’s a chemical polymerization process triggered by light exposure. When gel is exposed to UV or LED light, photoinitiators inside the formula activate and link monomers into a hardened polymer structure.
If that reaction is incomplete, the gel may look cured—but chemically, it is not.
As a result, under-cured gel polish can cause:
- Premature wear
- Surface wrinkling or dullness
- Soft layers beneath a hard top
- Increased risk of irritation from uncured material
Professional systems such as CND, OPI, and Gelish formulate their gels to cure within specific wavelength ranges, which is why lamp compatibility matters as much as curing time.

Why Gel Polish Doesn’t Cure Properly (The Real Reasons)
Many technicians assume curing issues come from “bad lamps” or “cheap gel.” In reality, curing problems are usually technical—not product failures.
- Lamp Wavelength Mismatch
- Not all LED lamps emit the same wavelength. Most professional gel systems cure between 365–405 nm. If the lamp doesn’t align with the gel’s photoinitiators, full curing never occurs—even at higher wattage.
- Layer Thickness
- Meanwhile, applying layers that are too thick blocks light penetration. The surface cures first, trapping uncured gel underneath. This leads to peeling, wrinkling, or delayed lifting.
- Lamp Degradation Over Time
- LED lamps weaken gradually. Even if the lamp still turns on, its output may no longer deliver adequate curing depth after extensive salon use.
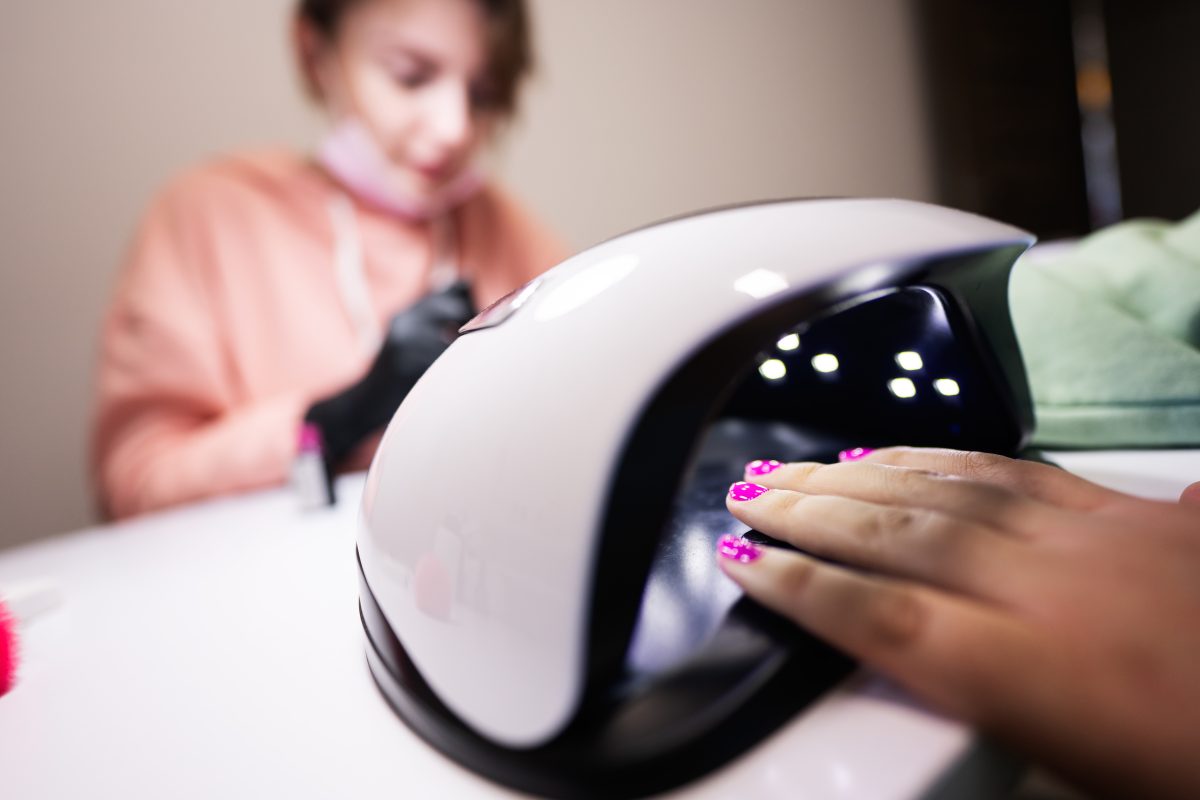
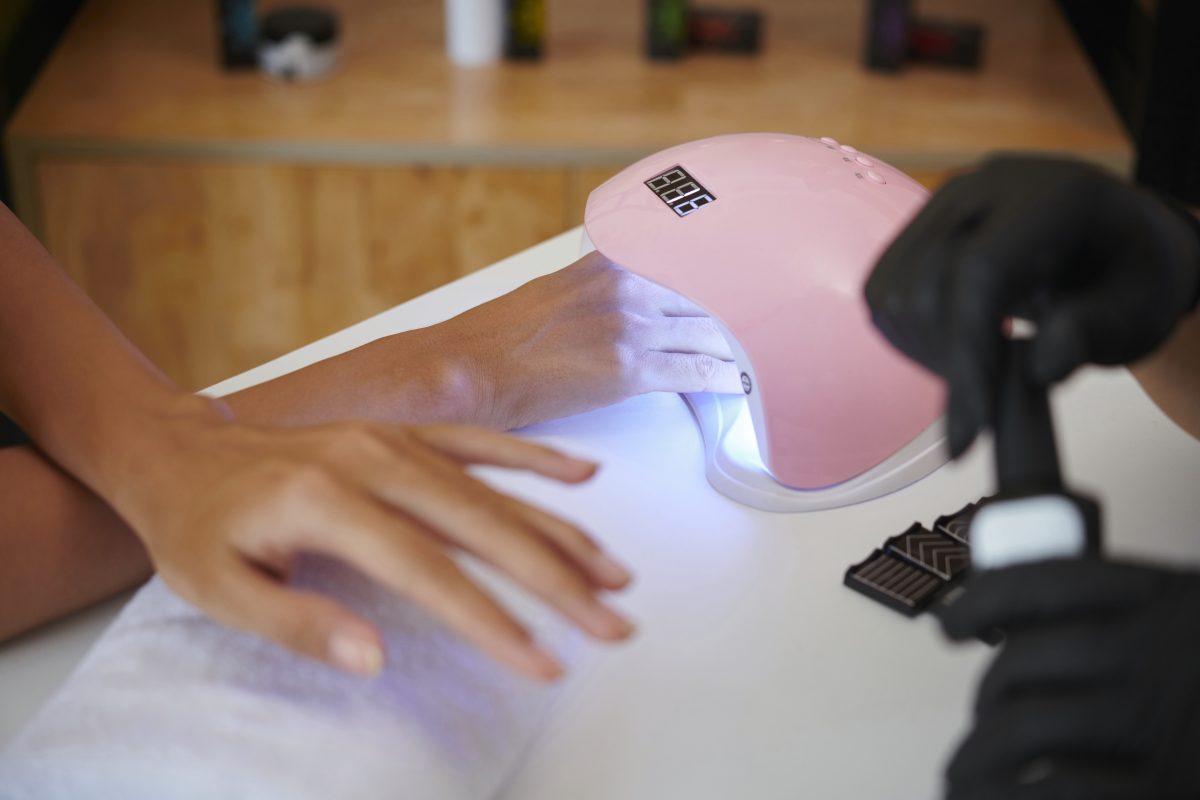
- Improper Hand Positioning
- Thumbs, sidewalls, and pinkies often sit outside the lamp’s optimal exposure zone. As a result, those nails cure unevenly unless repositioned intentionally.

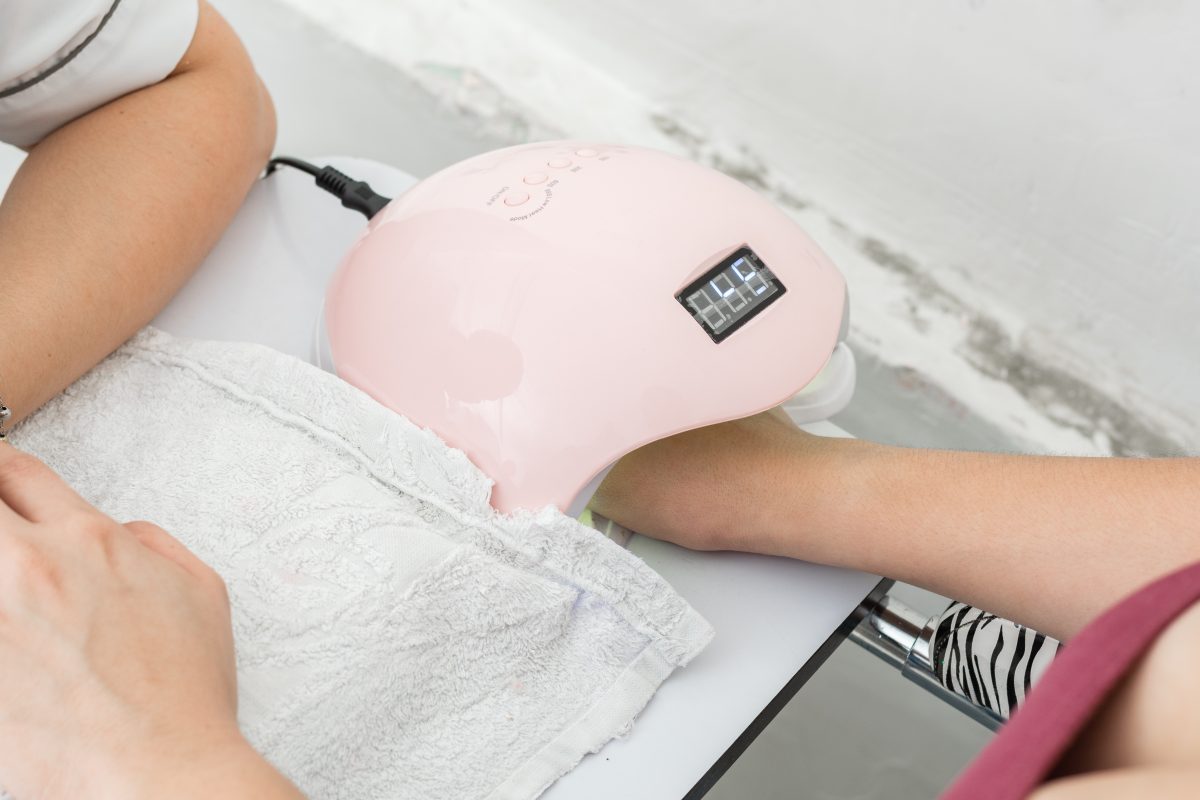
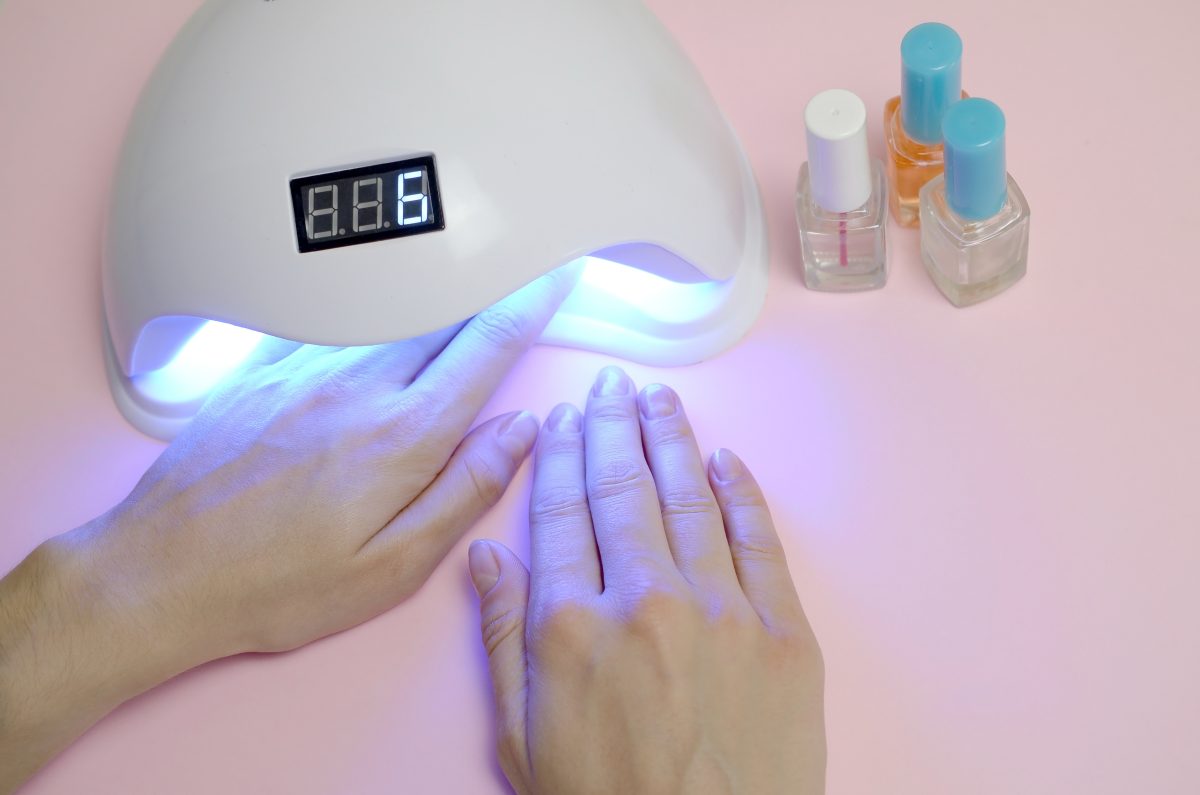
How Long Should You Cure Gel Polish? What Professionals Really Follow
Gel polish curing time is not universal. It depends on:
- Lamp type (LED vs UV)
- System formulation
- Color opacity
- Layer thickness
General Professional Guidelines
- LED lamps: 30–60 seconds per layer (system-dependent)
- UV lamps: 2 minutes per layer
However, these are starting points—not rules.
Professional brands like CND Shellac, OPI GelColor, and Gelish all publish system-specific curing protocols, which are designed to protect both wear performance and client safety. Deviating from these guidelines increases service risk, especially in high-volume salons.
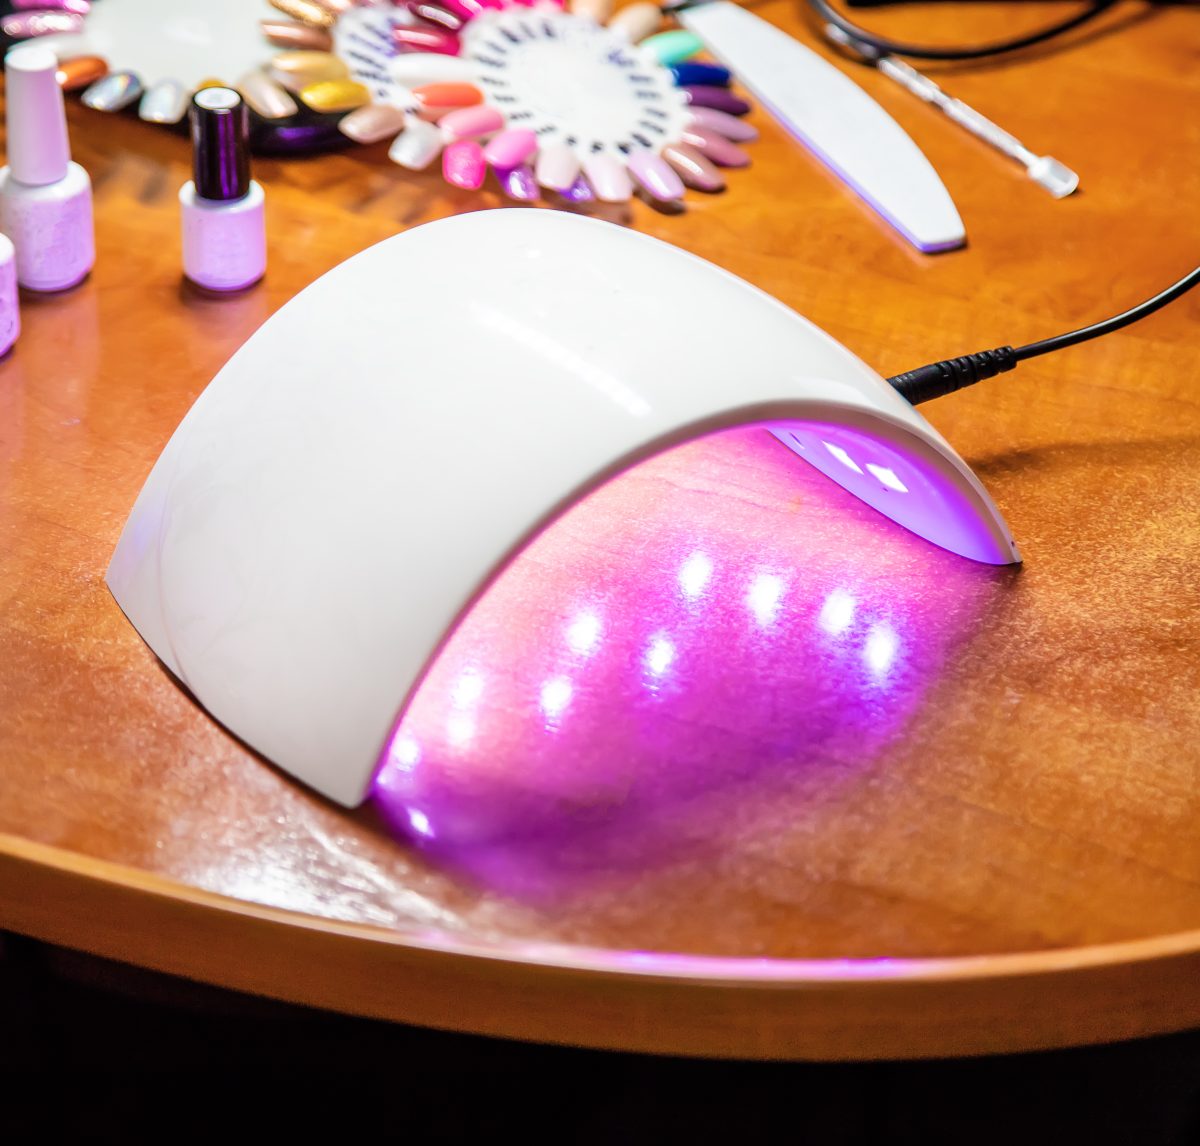
LED vs UV Lamp: Curing Gel Polish the Right Way in Professional Salons
| Category | LED Lamp Curing | UV Lamp Curing |
|---|---|---|
| Curing Speed | Cures gel polish faster using targeted wavelengths designed for specific photoinitiators. | Requires longer curing times due to broader light exposure. |
| Wavelength Output | Emits narrow, system-specific wavelengths; highly effective when paired with compatible gels. | Emits a wider spectrum, allowing it to cure most gel formulations. |
| Energy Efficiency | More energy-efficient and generates less heat, supporting high-volume salon workflows. | Consumes more energy and produces more heat over longer curing cycles. |
| System Compatibility | Less forgiving when used with incompatible gel systems or mixed brands. | More flexible with mixed-brand inventories due to broader spectrum output. |
| Maintenance Requirements | LED output gradually weakens over time but does not require bulb replacement, making performance checks essential. | Bulbs must be replaced regularly to maintain consistent curing performance. |
| Best Professional Use | Ideal for salons committed to a single professional gel system (such as CND, OPI, or Gelish). | Suitable for salons working across multiple gel systems or transitioning inventories. |
Professional Insight (Canada-Based Salons):
In Canadian salon environments—where mixed-brand inventories are common—educators often recommend assigning one lamp per gel system whenever possible. This approach reduces curing inconsistencies, limits under-cured gel polish issues, and lowers professional liability risks.
Professional Gel Curing Tips That Actually Matter
Expert Tip #1: Respect the Inhibition Layer
That tacky surface after curing is intentional. It ensures proper adhesion between layers. Over-curing to “remove stickiness” compromises flexibility and long-term wear.
Expert Tip #2: Adjust for Dark or Highly Pigmented Shades
Dark colors absorb more light, which limits curing depth. To compensate:
- Apply thinner layers
- Extend curing time slightly (system-dependent)
- Pay closer attention to sidewalls and thumbs
Expert Tip #3: Keep Lamps Clean
Dust, gel residue, and acetone vapors reduce light efficiency. Weekly lamp cleaning is a professional standard—not an optional task.
Under-Cured Gel Polish Problems and How to Fix Them
Signs of Under-Curing
- Gel feels rubbery after top coat
- Color wrinkles during curing
- Clients report heat spikes or sensitivity
- Chipping occurs within days
How to Fix It Professionally
- Switch to system-matched lamps
- Reduce layer thickness
- Cure thumbs separately
- Replace aging lamps proactively
Importantly, never attempt to “seal in” under-cured layers with extra top coat. This traps uncured material and increases client risk.

Client Safety and Nail Health Considerations
Curing Gel Polish correctly is not just about longevity—it’s about professional responsibility.
Incomplete curing increases exposure to unreacted monomers, which are a leading cause of contact sensitivity in nail clients. While this article avoids medical claims, professional standards across North America emphasize proper curing as a safety protocol, not a preference.
In Canadian salons, where regulatory inspections increasingly focus on service safety, correct curing supports:
- Reduced service complaints
- Better client retention
- Stronger professional credibility
Aligning Curing Practices with CND, OPI, and Gelish Systems
While each system differs slightly, they share common principles:
- System-matched lamps
- Thin, controlled application
- Manufacturer-recommended curing times
Educators consistently advise against mixing lamps and gels across systems unless compatibility is explicitly confirmed. This approach protects service consistency and minimizes troubleshooting.
Troubleshooting: When Everything Seems Right—but It Still Fails
If curing issues persist:
- Test the lamp output with a curing strip
- Audit application thickness
- Review client nail chemistry (oily nail plates can exaggerate curing flaws)
- Confirm lamp placement height
Professional troubleshooting starts with process—not product replacement.
FAQs
Fully cured gel feels firm, smooth, and stable, with no rubbery movement after top coat.
This is often caused by under-cured base or color layers beneath a hard surface cure.
Neither is universally better. The correct choice depends on system compatibility and salon workflow.
Yes. Over-curing reduces flexibility and can lead to cracking or premature wear.
Thumbs sit at awkward angles and often receive less direct light exposure.